
If you have a very old image/document or you have discolored images with spots, dirt, scratches, or some other marks and you are wondering how you can clean them on your computer, then using Adobe Photoshop can get you the best possible outcome. Cleaning up scanned images require an in-depth understanding of the selection tool, different types of brush tool, patch tool, and layer adjustment panels.
If you know how these tools and filter work, then this job should be easy for you. But in case you don’t, rest assured, we are here to help you. In today’s article, we will describe step by step process on how to clean up a scanned image in photoshop.
How to Clean up a Scanned Image in Photoshop
Follow the steps below to clean up a scanned image in Adobe Photoshop. We have included notes with the steps for your convenience.
Step Number One: Scanning
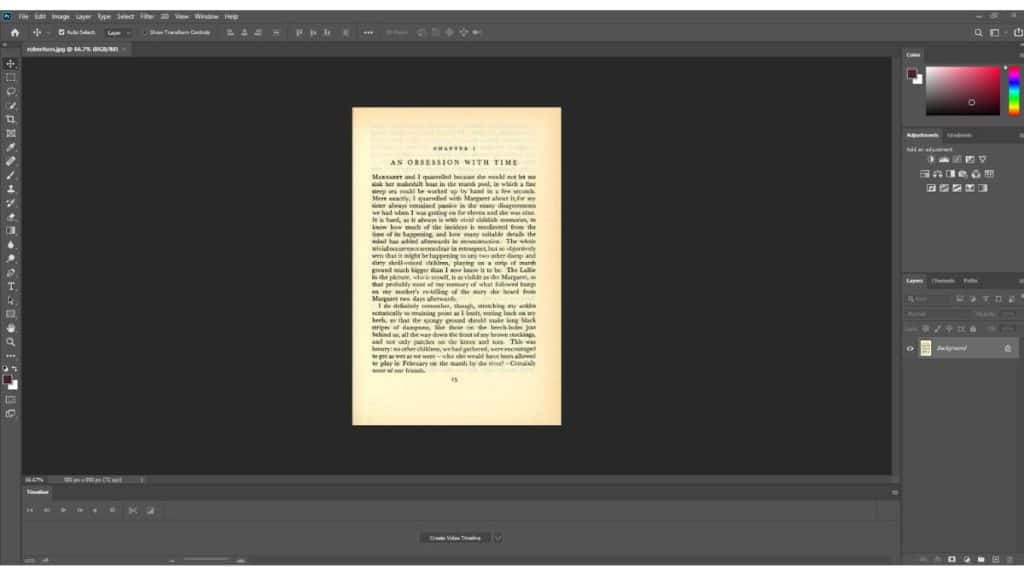
Scan the source image using a scanner and take the output file in high resolution.
[Note: For best results, Before scanning, softly brush any remaining dust off the printed image with a clean, soft cloth. Ensure that your scanner is clean as well. In order to use the greater quality of the image for any sort of project you want to cover, it is often necessary to scan the image at least 600 dpi or more to add enough details to it. The major reason for doing this is that if you scan a photo at a high quality, you will then have a wide range of possibilities for altering afterward. If you want to draw attention to someone or view more of the image, you may zoom in on it as well.]
Step Number Two: Saving & Renaming
Save the scanned file with a distinctive name that you can find easily later and remember the file directory as well.
[Note: If you have multiple images, make sure to rename them serially, so that they appear in an organized way. It will become easier to keep track of all of them. Also, make sure not to rename these files in the middle of the editing process. Otherwise, all the edits you made to the images will be gone.]
Step Number Three: Import to Photoshop
Once the rename has been done, open Adobe Photoshop and open your image there.
[Note: You can simply copy the image and paste it on the artboard of Photoshop or open the image from Photoshop or simply drag and drop your images in Photoshop. ]
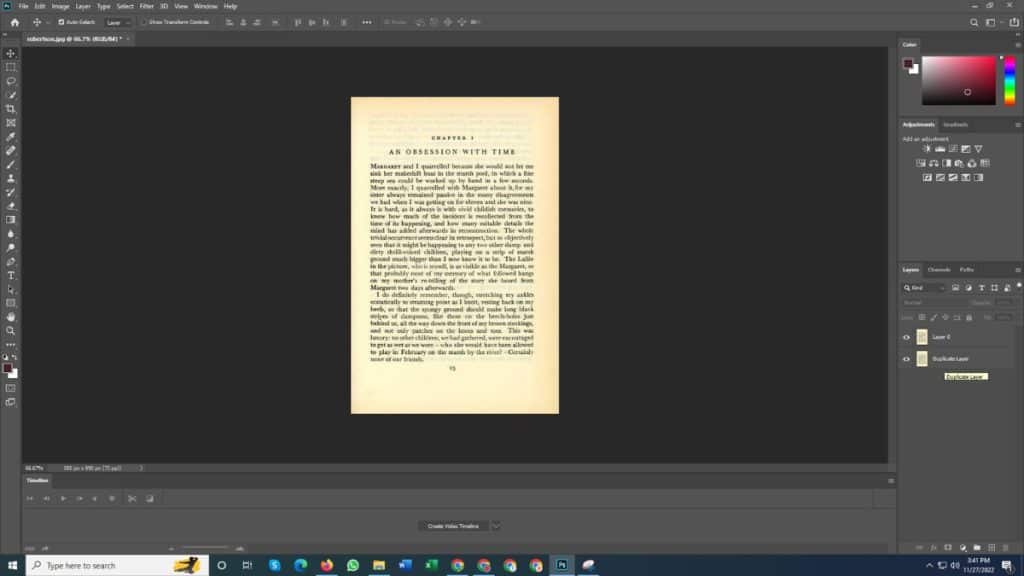
Step Number Four: Duplicate the Background Layer
Now go to the layer option, select the background layer, and press ‘Ctrl+J’ to duplicate the background layer.
[Note: You need to duplicate it so that you don’t make any permanent damage to the original image. We will be making all of the alterations in the duplicate layer.]
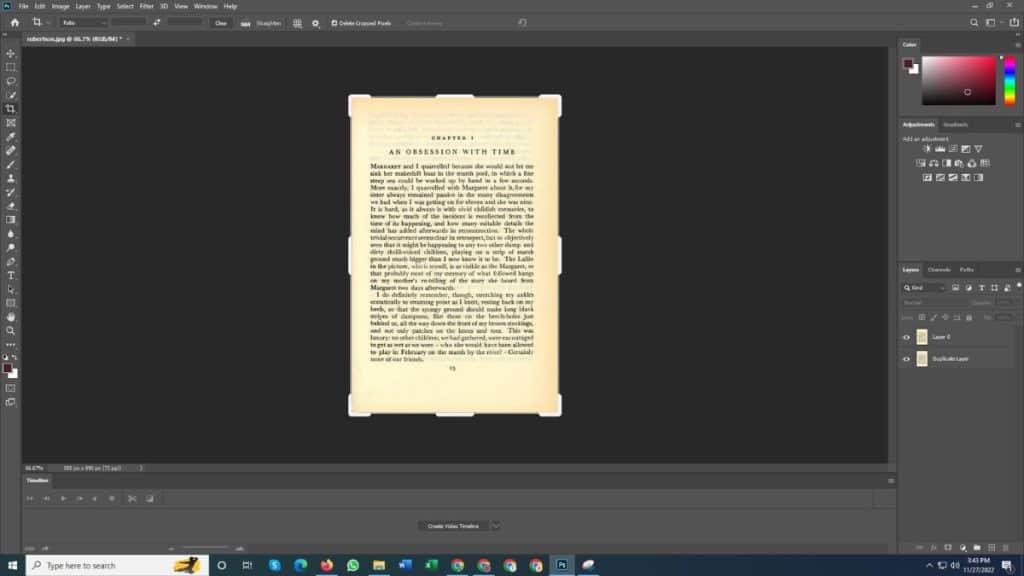
Step Number Five: Size Adjustments
Take the crop tool from the tools or press ‘C’. Take the portion of the image you need.
[Note: When you scan an image, a lot of unnecessary portion comes along with it. You can remove them with the crop tool]
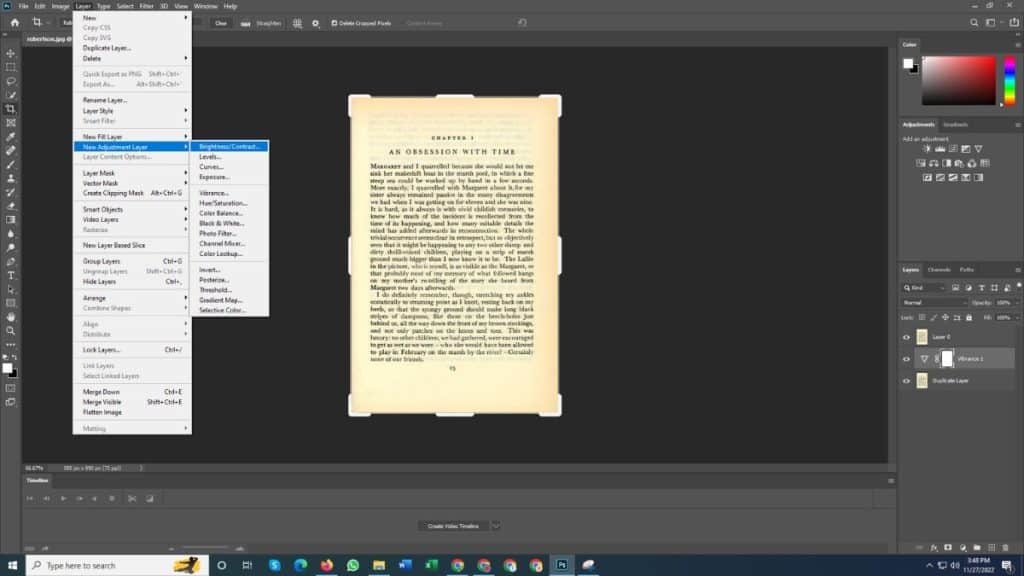
Step Number Six: Color Adjustments
Take a ‘Hue/saturation adjustment layer’ or ‘Vibrance’ adjustment layer from the layer panel and adjust the sliders.
[Note: If you want to enhance vibrance and saturation, move the sliders to the right side; if you want to decrease it, move them to the left side. Play around with these choices until you achieve the desired appearance. The same goes for the ‘Hue/saturation’ layer. But if this seems complicated to you, you can simply take a ‘Selective Color’ adjustment layer, which can produce a better result than the ‘Hue/saturation’ adjustment layer. If your image needs massive color correction, then take a ‘Curve’ adjustment layer, pick the middle eye-dropper and click on the area of your photo which is supposed to be gray (or closest to gray). It will auto-adjust the dark and bright pixels]
Step Number Seven: Contrast Adjustments
Take a ‘Brightness/Contrast’ adjustment layer and adjust the contrast.
[Note: If you aren’t sure about this option, the Auto Contrast option will offer you a somewhat stronger contrast of the image, which many photographers and editors prefer]
Step Number Eight: Retouching
Take the Spot Healing Brush Tool/ Patch Tool/ Clone Stamp Tool to remove the dust and dirt smudges from your photo.
[Note: Zoom in your image up to 400% work with perfect accuracy. Press ‘J’ to select Spot Healing Brush Tool. You can increase the brush size by pressing ‘]’ and decrease it by pressing ‘[‘. Slowly single-click over the spots on your image to make them disappear. You can also do this with the Healing tool. Simply select the tool and take samples from nearby areas by pressing ’Alt’ and clicking back on the spot you want to be gone. Another alternative is ‘Clone Stamp Tool’ which works the same way. Press ‘S’ to select it.]
Step Number Nine: Save & Export
Save your work. Export your output image into whichever format you like.
Frequently Asked Question
How do I improve the quality of a scanned image in Photoshop?
In the menu bar, select Image > Adjustments > Brightness/Contrast. Adjust the Brightness slider to change the overall brightness of the image. Adjust the Contrast slider to increase or decrease image contrast. Click OK. For additional improvements, take a ‘Curve Adjustment Layer’ or a ‘Level Adjustment Layer’. Adjust the dark and bright pixels of your image using the slider and click ok. Save your work and export.
How to sharpen scanned images in Photoshop?
First, launch Adobe Photoshop and open your image. Next, choose Camera Raw Filter from the Filter menu. Or press the shortcut keys- ‘Shift+Ctrl+A’. Go to the Sharpness tab when the Camera Raw Filter dialog box displays. You may use the slider here to change how much sharpening you wish to apply to your image. Save your work and export it in whatever format you want.
How to Fix Blurry Pictures in Photoshop?
Open your photo in Photoshop, then choose “Unsharp Mask” from the “Sharpen Panel” of the filter menu. Try these settings: Threshold 10 and 150% radius. Play around with the sliders a bit more if you don’t get the results you want. When finished, export the picture.
Conclusion
If you are new to Photoshop, these steps may seem a little bit complicated to you. But if you try them two to three times, they will all start to make sense to you. Just make sure on which layer you are working. There are no specific tools to do certain jobs in Photoshop. So, feel free to use the tool you are comfortable with as long as you can get the job done.
Remember the fact that you can only achieve High-quality output if the image you are working on has high details. So make sure to increase the resolution of your image from the ‘Image Size’ option under the ‘Image’ menu. Please share your thoughts in the comments box below if you have any questions about this article. Have a wonderful day, and we’ll see you soon!
Read Also: Product Photo Editing for Online Shop eBay Amazon